
If someone asked me a single powerful technique that can massively improve Website Load Time and Web Vitals, I would say Delaying all the external and other JavaScript files that are not required for rendering the above-the-fold paint.
Today, I’ll be sharing with you the benefits of Delaying JavaScript Code and also how you can implement it on both WordPress as well as non-WordPress sites. Let’s jump right into it!
Benefits of Delaying Javascript
Delaying JavaScript can bring a massive improvement to the following Web Vitals:
- First Contentful Paint
- Total Blocking Time (& First Input Delay)
- Time to Interactive
The fully loaded page time will also be significantly lower.
Third-party scripts that are meant for Tracking, Monitoring, and displaying Advertisements block the page from rendering and it results in poor Web Vitals Score.
The best example to showcase how effective delaying is can be seen on our own website SpeedVitals.com.
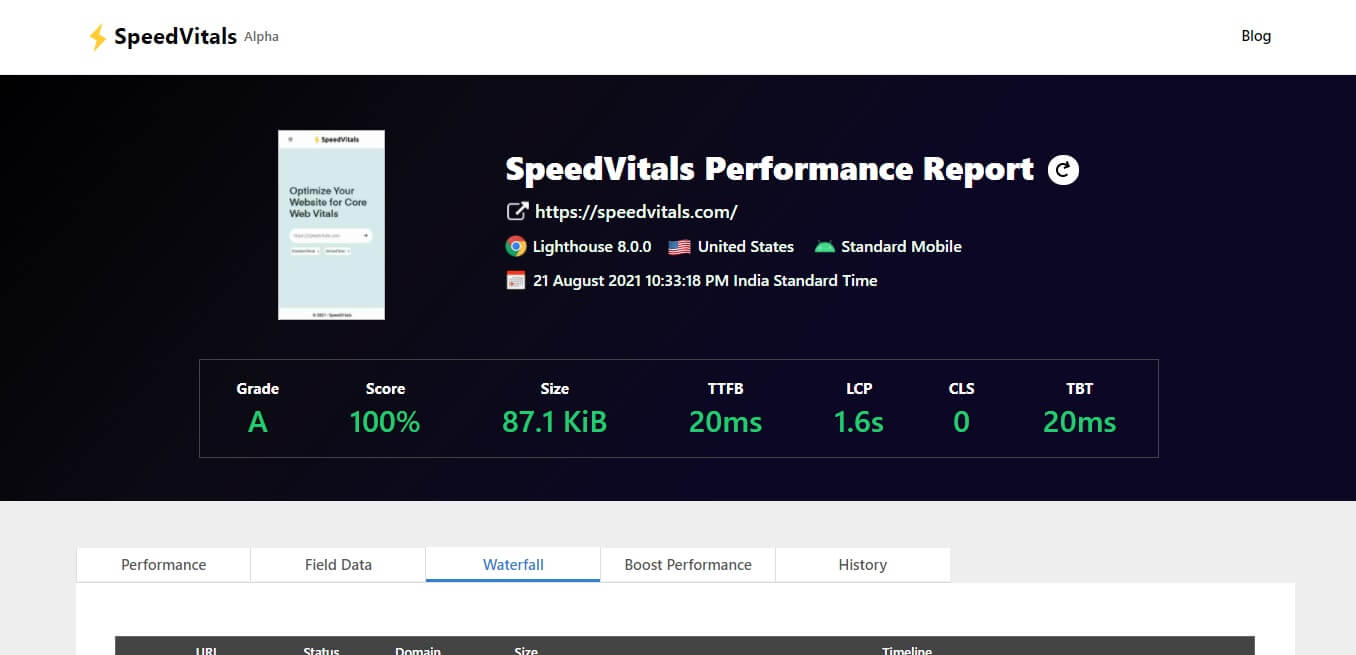
We have delayed the scripts for Google Analytics, Facebook Pixel, and Hotjar. Without Delaying them, it would have been nearly impossible for us to score 100% at the Standard Mobile configuration.
Async vs Defer vs Delay
Most websites on the Internet are already using Async and Defer to improve page load times. However, it is usually not enough to provide a major performance boost.
Let’s first look at the code snippets to understand the differences in the implementation of each technique.
Normal Load

<script src="script.js"></script>

Async

<script async src="script.js"></script>

Defer

<script defer src="script.js"></script>

Delay

<script delay="script.js"></script>
Here, the “delay” is not an official HTML attribute and it is only playing the role of a placeholder that will be used to identify the scripts that are delayed and on user interaction, we will copy the value of the delay attribute to src.
We can also use any other keyword instead of delay.
Without the async or defer attribute, the script is fetched and executed and the page parsing is paused until the script execution finishes. This practice results in poor performance.
When we use the async attribute, it loads the script in parallel to parsing the page and then executes it as soon as the script loads.
When we use the defer attribute, it loads the script in parallel to parsing the page but only executes it after the page has finished loading.
As you would have guessed, defer is a far better choice compared to async. You can find a detailed comparison between the two in this article by Flavio Copes.
But what if we completely stop the fetching and execution of scripts until a user interacts with the page?
That’s exactly what we will be doing today. To delay a file, we simply remove the src attribute and replace it with a random attribute. In this article, we will be replacing it with delay.
Since the src attribute is missing, the browser won’t load the script file and when the user interacts with the webpage (Scroll, Mouse Movement, Key Press, Touch), we replace the delay attribute with src in the page source and the browser begins loading and executing the scripts.
Compatibility
Delaying JavaScript works with all the modern browsers including Chrome, Safari, Firefox, Edge, and all the Chromium-powered browsers including Brave and Opera.
However, Internet Explorer 11 is not supported. If a small portion of your website visitors still use Internet Explorer, you’ll need to create a fallback that would redirect IE users to a different page without the JS Delay.
If you use WordPress, the Delay JS feature in WP-Rocket automatically redirects Internet Explorer users to the unoptimized version of the page.
However, I wouldn’t recommend any Developer to continue support for an obsolete browser in 2021. Even Microsoft is dropping Internet Explorer support on June 15, 2022.
What Files Can be Safely Delayed
The following are the file categories that I recommend delaying. However, you’ll still have to make sure that everything works just as before after implementing this optimization.
- Tracking & Analytics (Google Analytics, Hotjar, Facebook Pixel, Statcounter, Google Tag Manager etc)
- Advertisement Scripts (Google Adsense, Amazon Ads, Taboola, Outbrain, Media.net, etc)
- Social Media Follow/Like Button Embeds
- Customer Support and Live Chat (Zendesk, Customerly, Intercom, tawk.to, Olark, etc)
- Other Third-Party Scripts (Disqus Comments, Facebook Comments, Cookie Consent, etc)
- Non-Third-Party Scripts that are not essential for rendering above the fold content
Files to Avoid
Here are the files that will cause problems if delayed.
- JQuery
- All the Dependencies that are utilized by other script files (These dependencies cannot be deferred either)
- Files responsible for rendering the First Paint above the fold
How to Implement
If you’re using WordPress, there are already several plugins available that can implement this feature in no time. But for other sites, we have a step-by-step guide in the next section.
For WordPress Sites
The following plugins provide the JavaScript Delay feature.
If you need a tutorial on Enabling Delay JS using Flying Scripts, you should check out this video. WP-Rocket users can take the help of this guide. Perfmatters have their own guide as well.
For Non-WordPress Sites
So it’s time to implement the code on all the custom-built sites.
Here’s the code we will be using to load the delayed scripts.
const autoLoadDuration = 5; //In Seconds
const eventList = ["keydown", "mousemove", "wheel", "touchmove", "touchstart", "touchend"];

const autoLoadTimeout = setTimeout(runScripts, autoLoadDuration * 1000);

eventList.forEach(function(event) {
    window.addEventListener(event, triggerScripts, { passive: true })
});

function triggerScripts() {
    runScripts();
    clearTimeout(autoLoadTimeout);
    eventList.forEach(function(event) {
         window.removeEventListener(event, triggerScripts, { passive: true });
    });
}

function runScripts() {
    document.querySelectorAll("script[delay]").forEach(function(scriptTag) {
        scriptTag.setAttribute("src", scriptTag.getAttribute("delay"));
    });
}
This is a simple code that is basically looking for all the scripts with delay attributes and adding a src tag them on either the user interaction or after a certain time interval (whichever comes first).
You can specify after how many seconds the scripts should automatically load after the page finishes loading using autoLoadDuration.
We are using the following events in this code. You can customize this list as well. But for most cases, the mousemove, keydown, touchmove, and touchstart events should be good enough.
Here’s an explanation of what triggers each of these events:
- keydown: When the user presses a key
- mousemove: When the user moves the cursor
- wheel: When the user scrolls the mouse
- touchmove: When the user moves a finger across a touch screen
- touchstart: When the user touches the screen
- touchend: When the user releases the touch
Here are the step-by-step instructions to implement this code on your website.
Make a List of Files to Delay
Make a list of all the JavaScript files that you are safe to delay using the discussion we had in the previous section. If any of those scripts are inline, you can move them to an external file.
Replace the src Attribute
Replace the src attribute of all the files you chose in the previous step and replace it with the delay attribute.
Add JS Delay Code
Here’s the same code from above but I have minified it. You can either inline this somewhere before the closing of body tags or load it from an external file.
const autoLoadDuration = 5;
const eventList = ["keydown", "mousemove", "wheel", "touchmove", "touchstart", "touchend"];const autoLoadTimeout=setTimeout(runScripts,1e3*autoLoadDuration);function triggerScripts(){runScripts(),clearTimeout(autoLoadTimeout),eventList.forEach(function(t){window.removeEventListener(t,triggerScripts,{passive:!0})})}function runScripts(){document.querySelectorAll("script[delay]").forEach(function(t){t.setAttribute("src",t.getAttribute("delay"))})}eventList.forEach(function(t){window.addEventListener(t,triggerScripts,{passive:!0})});
To help you better understand what we just did, here’s an example on JSFiddle.
When you’ll open the Result Tab, only one line would be displayed “This code is not delayed” but once you’ll hover your mouse over there, it will load the test.js file that will print “This code is delayed”.
Testing
To check whether the Delay is actually working, open the network tab in Chrome’s Developer Console and reload your webpage. After the page load finishes, move your mouse over the Web Page and you’ll see network activity confirming that the delayed files are loading on user interaction. You can confirm the same thing on the Sources tab as well.
Once you’ve confirmed JavaScript Delay is working, make sure to test that everything is working on the Website as expected and there are no errors in the console.